By Holly Kennedy of Sterilite Corporation
As the last of this summer’s strawberries were fading from the farmers’ markets, I rushed out to nab a couple of quarts to make one of my favorite summer treats – homemade strawberry ice cream. What better way to savor the tastes of summer a little longer than a cold, refreshing dessert?

Homemade ice cream is delicious and fairly easy if you have the right equipment. But it’s possible to make it even without an ice cream maker!
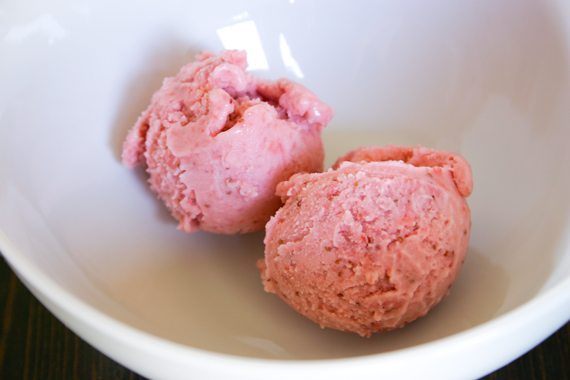
Like many Americans, I am allergic to dairy products, so I made my ice cream with canned coconut milk – the kind you’d find in the ethnic isle of your local grocery store. If you’d prefer to use traditional dairy products, you can refer to the original recipe using the link below.
Strawberry Ice Cream
Adapted from: Eggs on Sunday
2 cups whole-fat canned coconut milk (not light or coconut cream)
¾ cup sugar
1 pound strawberries, stems and hulls removed
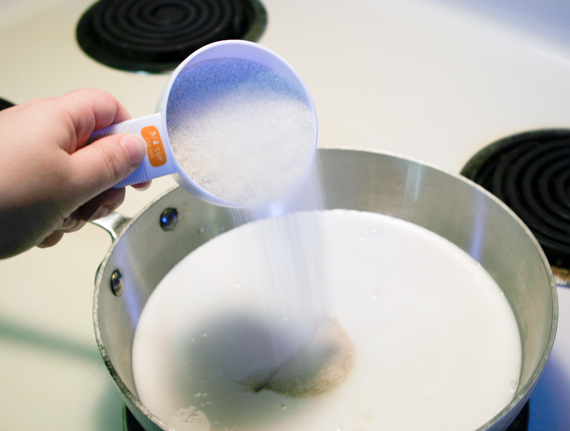
Heat the coconut milk in a large pan over medium heat. Add the sugar and stir until dissolved.
Place the strawberries in the carafe of your blender and carefully add a couple of ladles-full of the milk mixture. Pulse a few times until the strawberries are chopped roughly. I prefer to have a few larger pieces of strawberries in my ice cream, but if you’d rather have a smoother ice cream, blend until smooth.
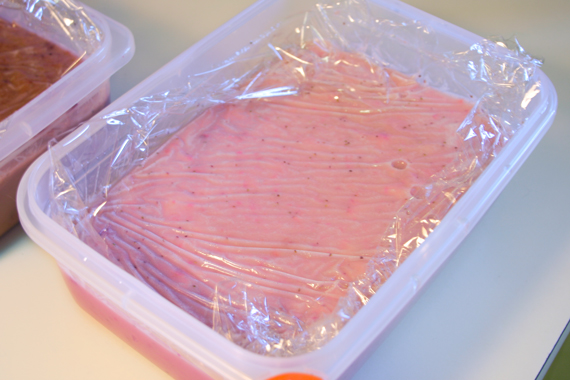
Add the strawberry mixture to the rest of the milk mixture and stir until well combined. Pour into an airtight food storage container and cover with a piece of plastic wrap. Push the plastic wrap down so it’s touching the surface of the ice cream base to prevent a skin from forming. Chill in the refrigerator overnight.
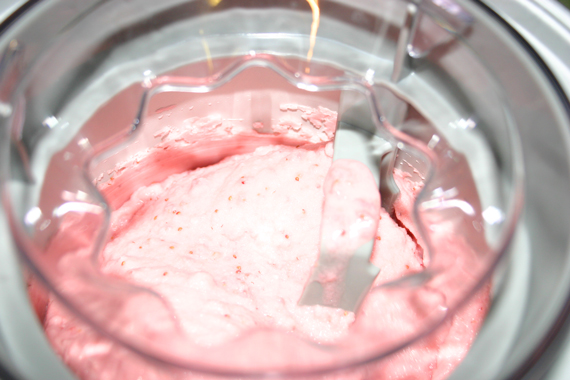
Now that the mixture is well chilled, break out your ice cream maker (did you remember to freeze the canister for at least 24 hours?). Get it all ready to go and turn machine on before adding your ice cream base. Carefully pour the base mixture into the machine and churn for 20 minutes until the ice cream is soft-serve consistency.
Transfer the ice cream into an airtight food storage container and freeze for several hours before serving.
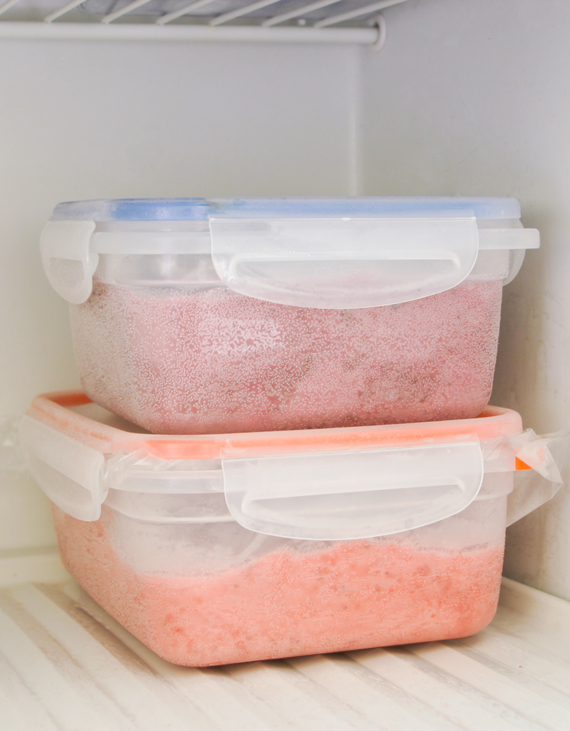
I like to use the Ultra•Seal™ 8.3 cup Rectangle for my homemade ice creams. Most recipes make between one and two quarts so the size is perfect. Plus its rectangular shape means no sticky knuckles! This ice cream is a bit harder than traditional ice creams so let it warm up on the counter for a couple of minutes before trying to scoop.
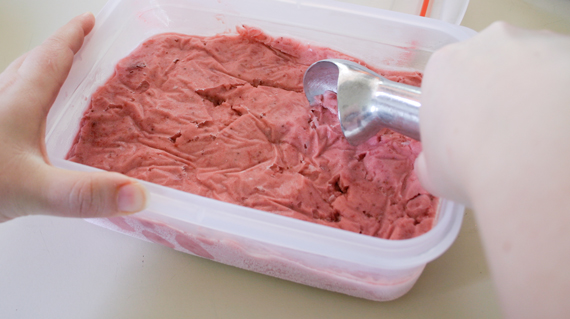
This recipe would be great with other seasonal berries too. I tried making blueberry ice cream and it was pretty good. For those with a bigger sweet tooth, a bit more sugar perhaps, but it was fun to experiment regardless. If you try different berries or other flavorings, I’d love to hear about it!
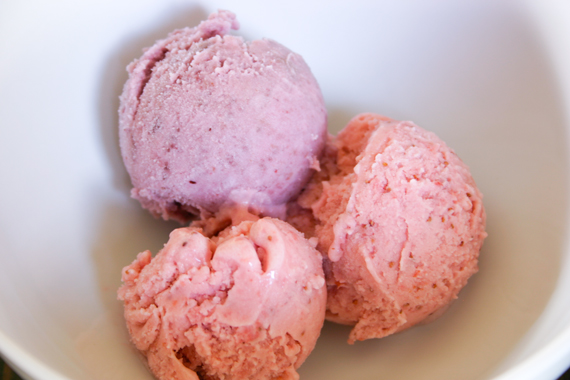
Enjoy your taste of summer!


Yum Yum! I love making ice cream too! I've given homemade ice cream as gifts in these exact Sterilite Ultra Seal containers and the recipients are always thrilled with the contents and packaging! Can't wait to try your coconut milk recipe, Holly!
Posted by: Rita | 07/05/2012 at 04:16 PM
Hi, Sounds scrumptious,
Great ideal for a get 2gether, topic-conversation,
& Delicious to your taste pallett e as well. Let alone passing down to the Generations,past, present & future... ♥
Posted by: Tracy F. G. Bianucci G. | 02/03/2017 at 01:38 PM