By Michaela Coyle of Sterilite Corporation
Summer is right around the corner and we’ve all started to plant our flower and veggie gardens, which means we’ll have to frequently be watering them to keep them flourishing! This is also the time of year where towns start to enforce water bans, which makes it difficult to nourish your plants while also saving on water - unless you have a well of course.
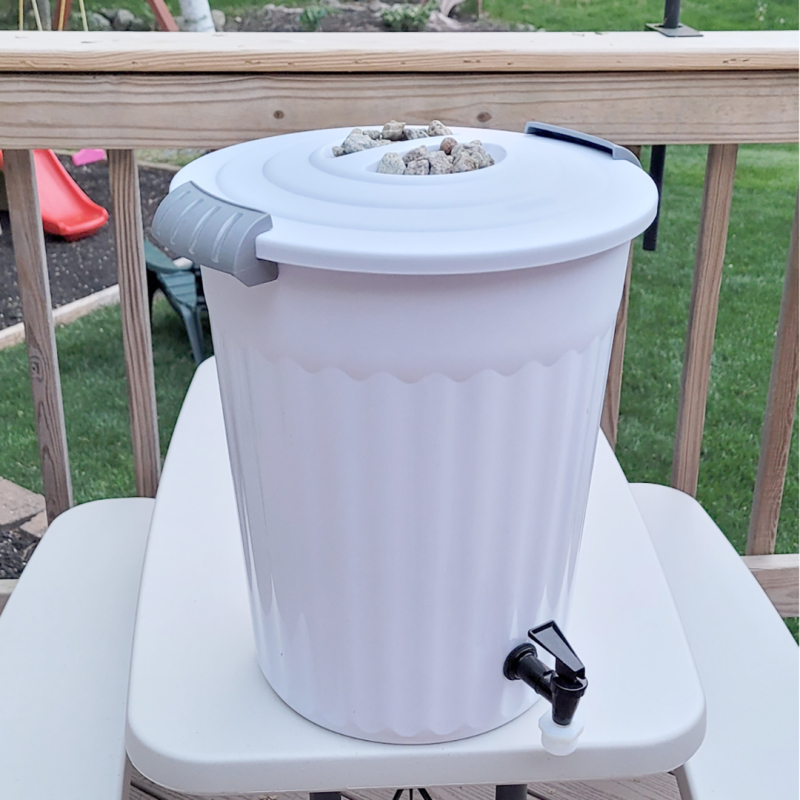
We have an eco-friendly solution that can help you save money and also recycle unused rain water - a DIY Rain Catcher. Although this project may seem a bit intimidating, this particular rain barrel is very simple and great for first timers! With a little help from a friend that has power tools, I was able to create a fully functioning rain catcher in less than 30 minutes.

Supplies you will need:
• Container (I used the Sterilite Utility Can)
• Water Spigot (Amazon has many affordable options)
• Safety Gloves
• Safety Glasses
• Drill
• Crushed Stone or Pebbles
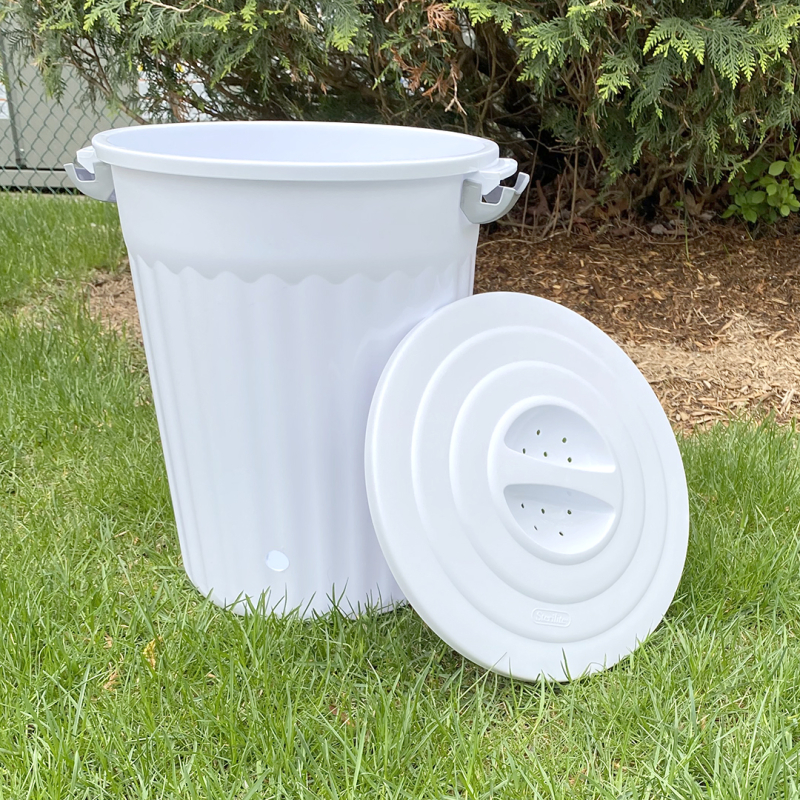
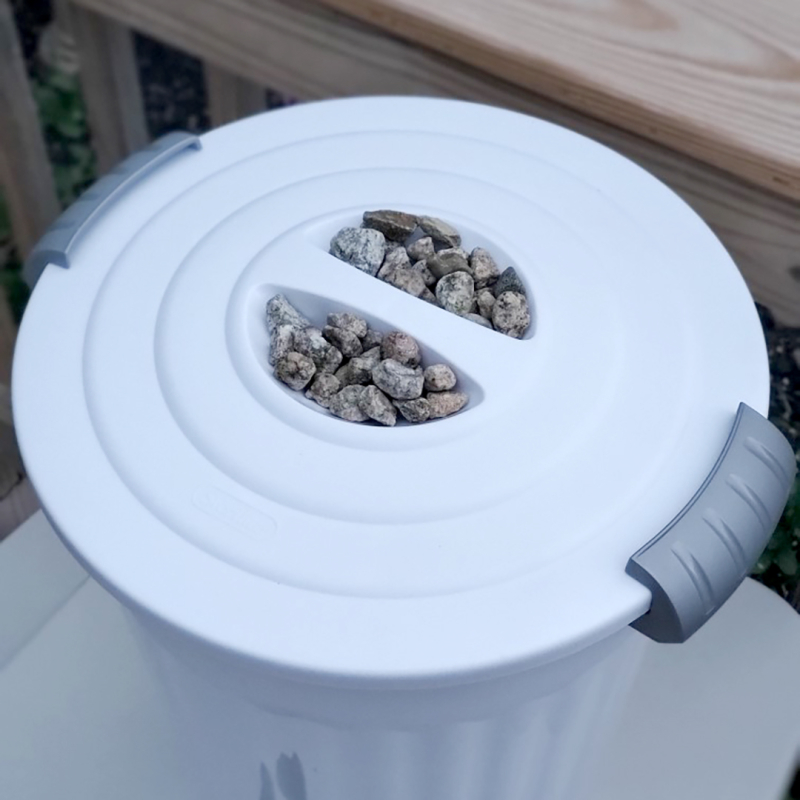
First, grab container you would like to use to create the rain catcher (we recommend using the Sterilite Utility Can) and carefully drill some holes in the lid so the rain can trickle in. In this case, the lid of the Utility Can is recessed which was a perfect spot to drill the holes. The recessed lid also nicely holds the crushed stone that will prevent any debris from polluting the fresh rain water.
Next, create another hole about 2 inches up from the bottom of the Utility can, big enough in diameter so you can install your spigot. Make sure the seal is secure between the spigot and the utility can to prevent any leakage!
Lastly, grab your crushed stone/pebbles and place them in the recessed part of the lid above the drill holes.
Once complete, simply place your rain catcher in your desired area of your yard. You will use less water from your home and also recycle old rain water to nourish your beautiful plants!


Comments